
How to Use MiniMax H3 Max for AI Video Creation
I’ll be completely honest: when MiniMax H3 Max first dropped, I was pretty skeptical. We already have plenty of AI video generators promising "cinematic quality," but most of them leave you staring at a progress bar for 5 minutes only to deliver a warped mess or a floating face.
So, I spent the last two weeks putting H3 Max through its paces right here on Guma—testing timestamp structures, camera tags, and native audio sync on our workspace.
Here is what I learned from hundreds of test renders, why it's currently ranking #1 on the leaderboards, and the exact prompt framework we use at Guma to get clean, broadcast-ready shots on your first pass.
What Actually Sets H3 Max Apart (And Why We Hosted It)
Before we talk about prompting, let’s get clear on where MiniMax H3 Max actually fits in your creative toolkit.
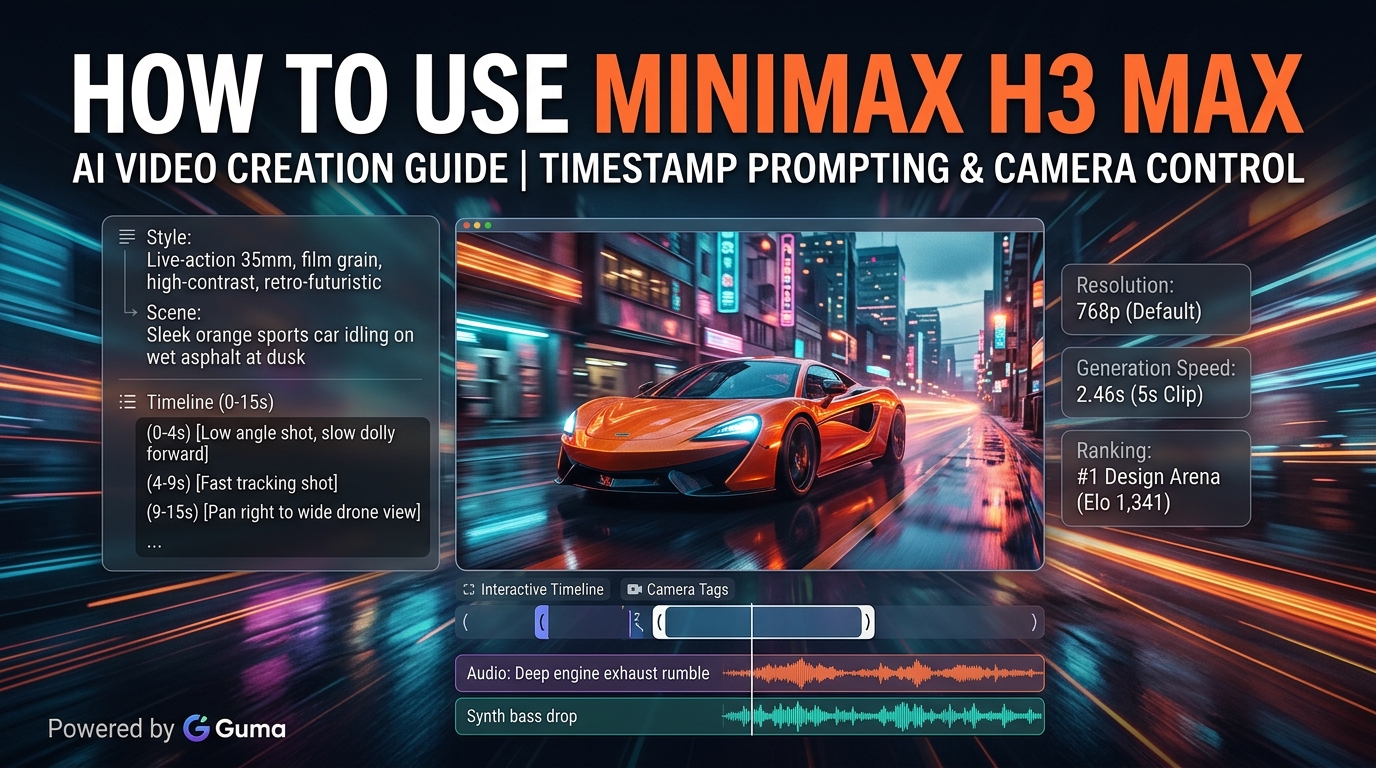
When running speed tests directly on the Guma workspace, H3 Max completely blew past baseline video models. In fact, a 5-second 768p clip finishes generating in roughly 2.46 seconds—meaning it renders faster than the video even plays! Even a full 15-second sequence takes just about 15 seconds to generate.
It’s no surprise that H3 Max is currently holding the #1 spot on the Design Arena Image-to-Video Leaderboard (Elo 1,341) and ranking top on Artificial Analysis for video models with synchronized audio.
| Feature / Metric | MiniMax H3 Max on Guma | Base MiniMax H3 | Seedance 2.5 |
| 5-Second Clip Render Time | ⚡ 2.46 Seconds (Faster than real-time) | ~2 to 3 Minutes | ~2 Minutes |
| 15-Second Clip Render Time | ⚡ ~15 Seconds | ~7 Minutes | ~5 Minutes |
| Leaderboard Rank | 🏆 #1 on Design Arena & Artificial Analysis | Ranked lower on speed | Ranked for multi-character |
| Default Target Resolution | 768p (High-efficiency generation) | Native 2K | 720p / 1080p |
| Best Production Fit | Fast ad testing, storyboards, quick social hooks | Native 2K finals, complex V2V edits | Long narrative beats |
My Take: If you’re creating short social media ads, iterating on product shot concepts, or storyboarding a visual sequence in Guma, H3 Max is an absolute no-brainer. But if your project strictly requires 2K output or complex Video-to-Video motion transfer, you can switch over to the Base H3 model.
The Prompting Method That Works: The Timestamp Approach
Here is a huge mistake I see people make constantly: they write their prompts like a dense paragraph in a novel. They dump 200 words of scene descriptions together and pray the AI figures out what to animate when.
It doesn't.
What I’ve found works best during our tests on Guma is breaking your prompt into explicit timestamp blocks. When you tell the model when an action happens, it actually hits those beats in sequence.
Here is the exact 4-part layout I use for every 15-second generation:
1. Style (Always Put This First)
Establish your visual rules right at the start. Mention the media type, lighting, and camera texture before anything else:
Live-action 35mm film grain, high-contrast evening lighting, retro-futuristic aesthetic.
2. Scene & Subject
Define who or what is in the shot and where they are located:
A sleek orange sports car idling on wet city asphalt at dusk.
3. Timeline & Camera Instructions
This is the core engine. Break down the shot second-by-second using bracketed camera tags:
(0-4s) [Low angle shot, slow dolly forward] Close-up on the glowing headlight with water droplets.(4-9s) [Fast tracking shot] The sports car accelerates down the neon alleyway.(9-15s) [Pan right to wide drone shot] Camera pulls up revealing the city skyline as the car fades into the distance.
4. Audio (Don't Skip This!)
H3 Max generates native synchronized audio right alongside the video track. Be explicit about what soundscapes you want to hear:
Deep engine exhaust rumble, rain sizzling on hot metal, subtle synth bass drop at the 4s mark.
Handling Spoken Dialogue Without Audio Desync
If your scene includes spoken lines, here's a lesson we learned the hard way after a few failed attempts: always assign speakers directly inside the timeline block.
If you just drop dialogue into a text box without timing, H3 Max will often skip lines or match the voice to the wrong character.
Here is how I lay it out in my scripts:
(0-3s) Two martial artists face each other in silence. Room tone and light wind.
(3-6s) Referee shouts "Fight!" while dropping his hand.
(6-9s) The master bows slightly as the opponent lunges forward.
Audio: Fast footstep whoosh, heavy impact sound, crowd gasps loudly.
Two Small Workflow Hacks We Use at Guma
- Use Start and End Frames for Image-to-Video (I2V): If you notice the ending frame keeps morphing into something weird, upload both your opening image (Frame A) and your target final shot (Frame B) into Guma. Then, prompt only the transition action bridging the two points.
- Front-Load Your Camera Tags: Always place your bracketed camera instructions right at the beginning of each timestamp block (e.g., [Low angle shot, slow tilt up]). Putting them first ensures H3 Max's text parser catches the motion instruction instantly.
Ready to Test MiniMax H3 Max on Guma?
You don't need to mess with complex API integrations or local CUDA setups to get started with this workflow.
Head over to image to video, select MiniMax H3 Max in our workspace, and plug in the timestamp framework above to start rendering ultra-fast 15-second clips with synchronized audio.
Jump into Guma today and let us know what kind of cinematic shots you're creating!